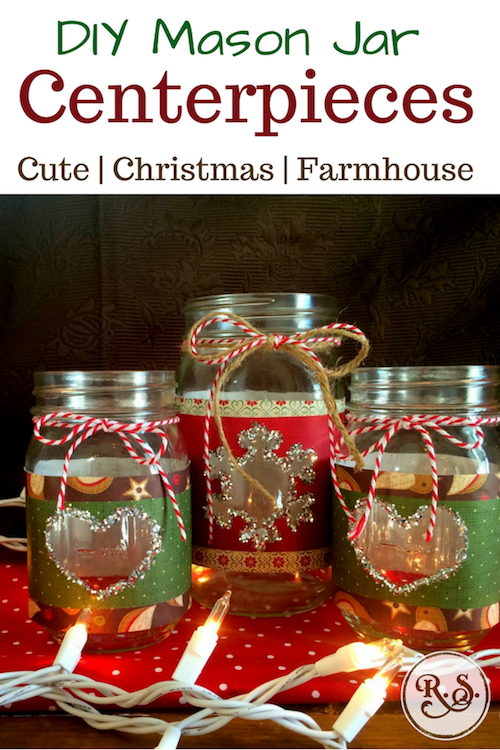
DIY Mason Jar Centerpieces for Christmas -- Cute & Country
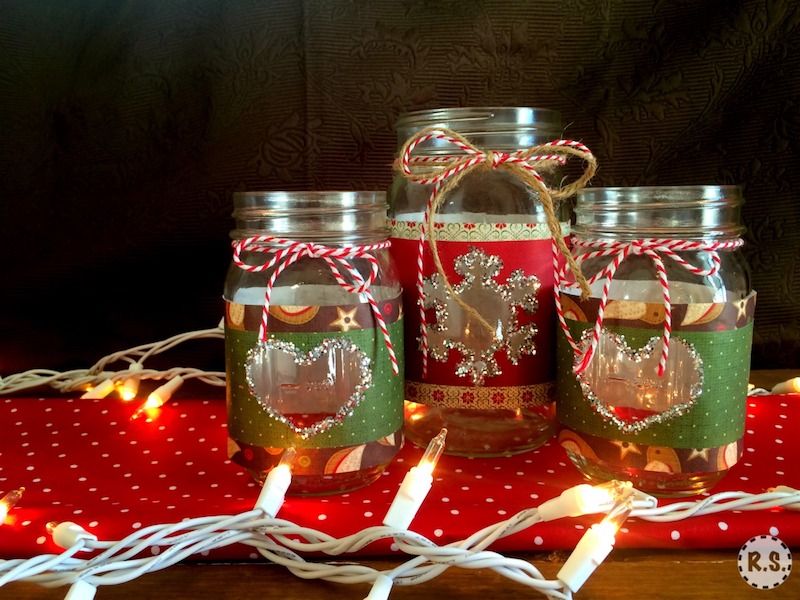
These DIY mason jar centerpieces are perfect as homestead decorations! These ones help bring on the Christmas feel--cold winds, snow, hot chocolate, and cozy fireplaces...well, maybe not as much if you live in Arizona. :-)
It's still chilly for us here in the winters though. After all, if way over 100 degrees is common in the summer, than even 50 feels quite cold.
These mason jar centerpieces are a great winter craft, or project you can do when it's to cold to go outside. Pull out some glue, your favorite crafting papers and settle on in for a project.
Disclosure: Some of the links on this page may be affiliate links, meaning I may get a small commission if you make a purchase. Read the full disclosure here.
How to Make DIY Mason Jar Centerpieces
Supplies:
- Jars
- Fun crafting paper
- Ribbon, baker's twine, or raffia
- glitter
- glue
- Anything else you think would be cute on your jars! Buttons might be fun. :-)
Step #1. Get a template
Go online and google the shape or template for the cutout you want. Snowflakes, hearts, and stars are great places to start. You can also make these for summer (sun, trees, etc.), fall (leaves, pumpkins, etc.) or spring (flowers, tulips, etc.) as well. Be sure to grab the appropriate seasonal crafting papers!
Step #2. Cut your paper
Cut your crafting paper out to the right size so they fit around the outside of your jars nicely. Layer two kinds of paper if you'd like (I did green on birds for the two small jars and red on floral for the larger one).
Step #3. Cut out the shape
Find the middle of the strip of paper and fold or lightly mark it. Then trace the shape or design you wish to cut out onto the back side of the paper right in the middle.
Using scissors, carefully cut out your design.
Step #4. Glue the paper to your jar
Now place the paper on the jar how you want it. See how it's going to line up and keep in mind any markings that might be on the jars and get in the way.
Glue the paper in place and use a little bit of tape to secure while it dries (if you need it).
Step #5. Glitter!
Take your bottle of glue and carefully outline the edge of your cutout/design. Dump on some glitter and let it dry.
You can also make it even easier and just use a tube of glitter glue.
Step #6. Finishing touches
After everything has dried, tie some baker's twine and raffia at the top. Or if it suits your style better, ribbon or embroidery floss would be lovely too!
Enjoy your lovely new DIY mason jar centerpieces for Christmas, parties, birthdays or just as a simple beautiful touch to the farmhouse table.
Links on this page may be affiliate links, so I may get a small commission if you make a purchase. Thank you for supporting this blog! 🤗 Read the full disclosure here.
Hey there! I'm Julia. I live in Arizona on 2.5 acres, with HOT summers☀️, lots of cacti🌵 and amazing sunsets🌅! A sinner saved by grace, I'm also a homeschool graduate🎓. The oldest of six, I live with my family at home🏡. Serving the King, Jesus Christ, above all is my number one goal. Read more -->

Check out my best sellers over on Etsy
|
Soli Deo Gloria! (Glory Be to God Alone!) ~ Julia
|
-
-
Soli Deo Gloria! (Glory Be to God Alone!)
~ Julia
 Hey there! I'm Julia. I live in Arizona on 2.5 acres, with HOT summers☀️, lots of cacti🌵 and amazing sunsets🌅! A sinner saved by grace, I'm also a homeschool graduate🎓. The oldest of six, I live with my family at home🏡. Serving the King, Jesus Christ, above all is my number one goal. Read more --> |
psst...Instagram is my favorite 👇😉
-
-
.
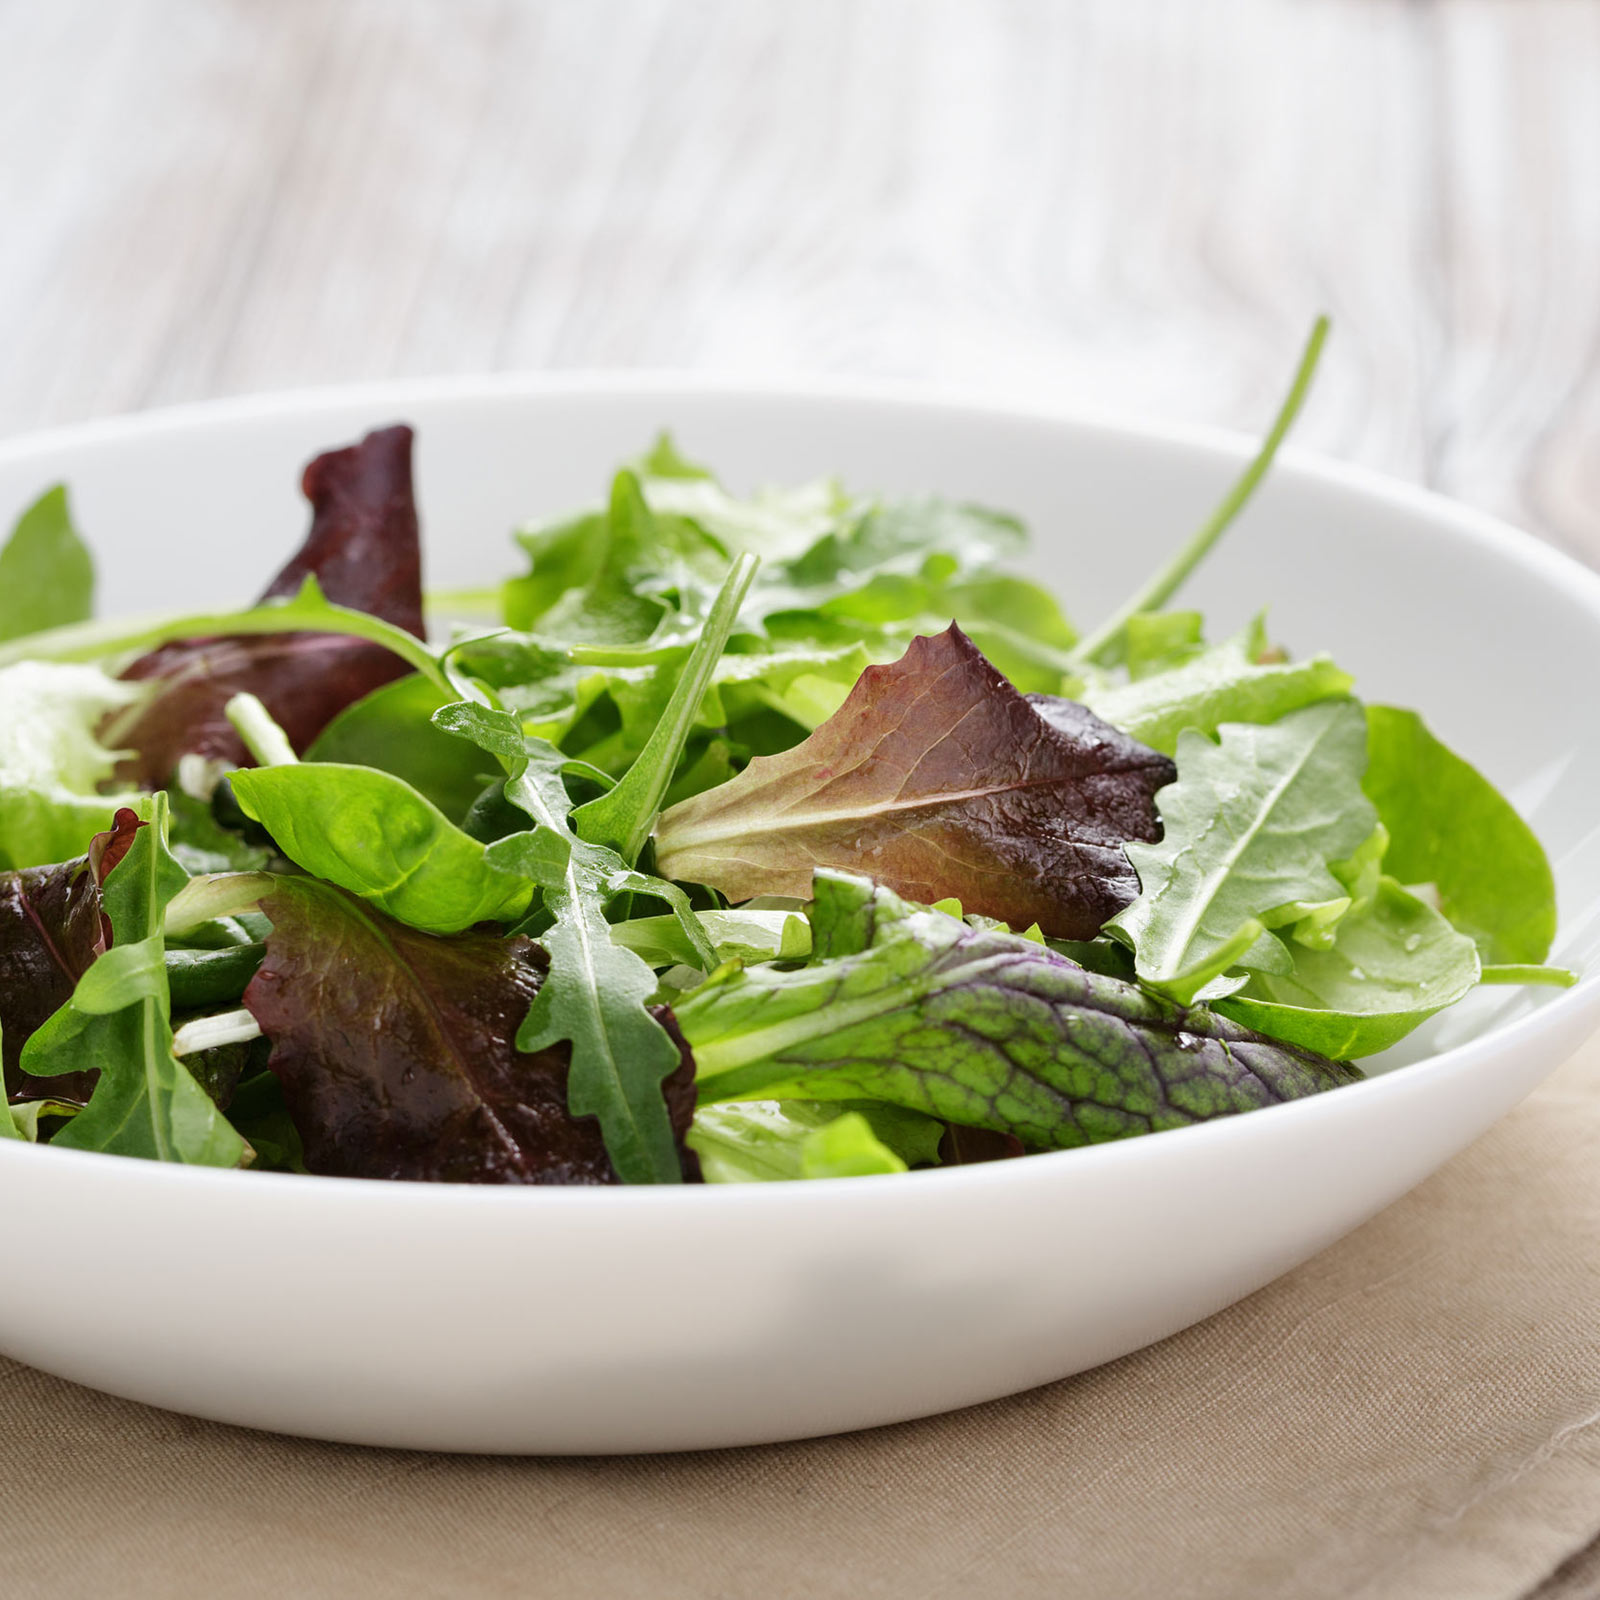
Only takes 35 to 75 days from ground to plate. A wonderful collection of greens of diff... [More]
Start your own Mexican Salsa garden seeds indoors and get a jump on the growing season.... [More]
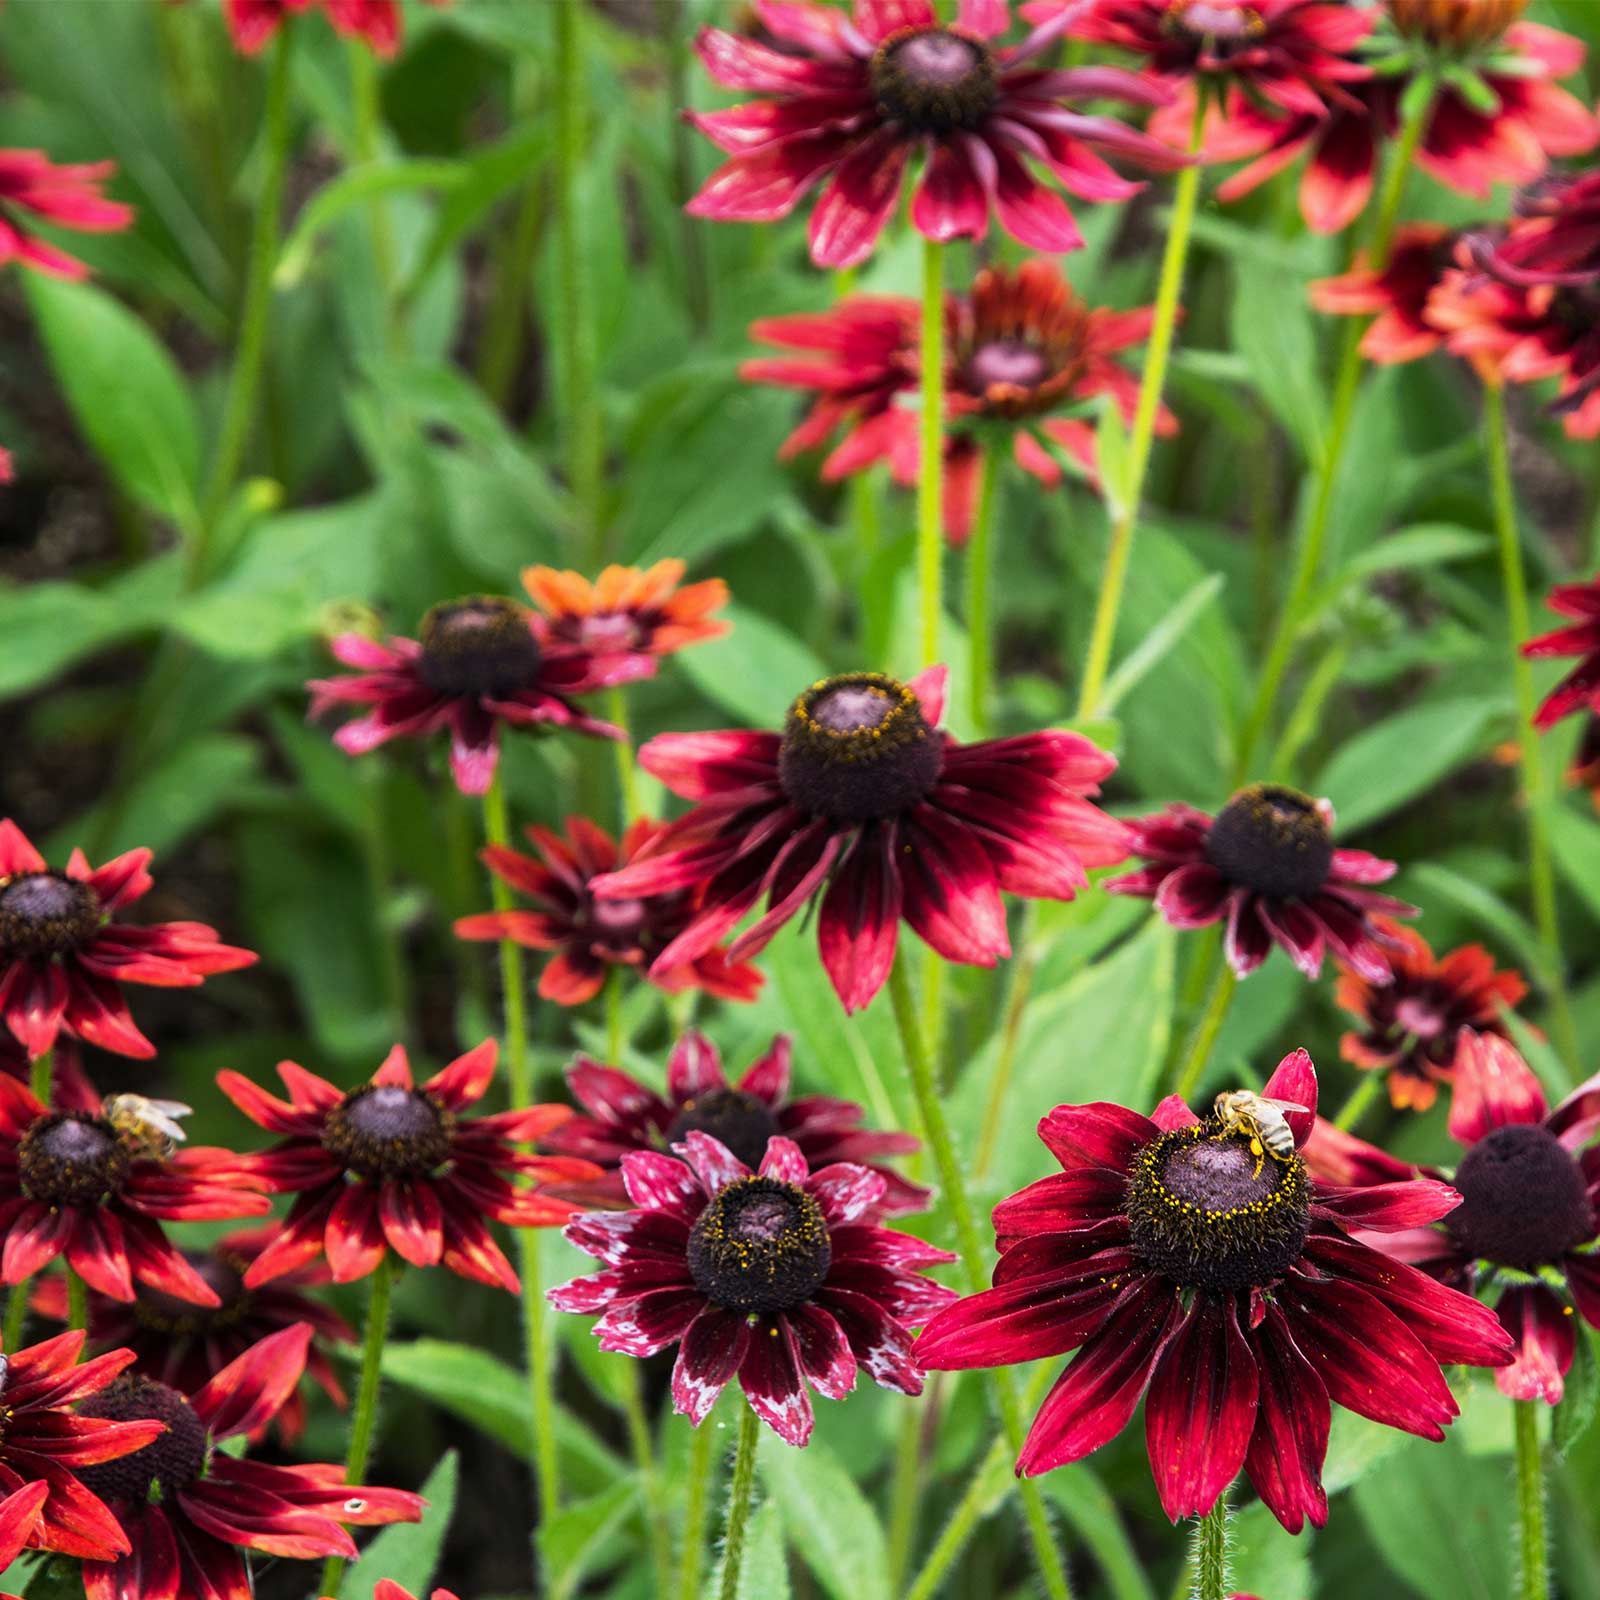
Rudbeckia hirta 20 inches. A dazzling show of 3\" blooms in shades of cherry red. Prol... [More]
.
